The Arranger window (2).
![]()
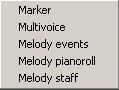
Open the original Medley sequence again. At bar 17 the barnumber has a tan background this indicates that there is a multivoice defined in this bar. Left mouse click in the bar number and a menu will pop up.
Select Multivoice.
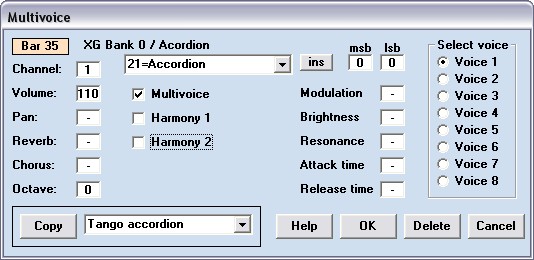
This window is similar to the voices window. You can select an existing multivoice from the list beside the copy button and then press the copy button to copy it into the current bar in the sequence. The multivoice definition as shown in this screen will be kept in the sequence file separate from the multivoice where it is copied from. If you later make changes to the 60 multivoices in the voices window then the multivoices in the arrangements will stay unchanged.
If you right click on a barnumber in the sequence that did not had a tan color and therefor had no multivoice assigned to it, then you will be presented with the voice settings from the last previous multivoice in the sequence. If you change it and press OK then the new definitions will be assigned to the bar that you selected and this barnumber will have a tan color from now on to indicate that a multivoice is assigned to it. To remove a multivoice from a bar: right click on it and press the delete button.
When you later on start recording melody you will have a choice to play the melody with the complete multivoice (with layered voices) or with one of the voices defined in the multivoice. There are 8 voices that can be defined and played separately. Only the first four can be assigned to sound with the multivoice melody: check the Multivoice box. The first voice can have auto harmony: check the Harmony 1 and Harmony 2 box.
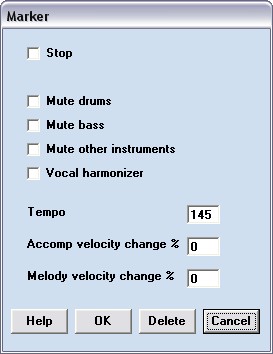
In Bar 35 the barnumber has a red background. This indicates that there is both a multivoice and a marker in this bar. If there were only a marker and not multivoice the background would be grey. Right click on the barnumber and select Marker from the pop up menu.
In the marker window a tempo is specified. Normally the tempo would be taken from the style. But if a tempo is specified in a marker then that tempo will be used for the rest of the arrangement in all style parts, until a second marker is reached where the tempo field is empty. The accomp and melody velocity allow you to increase or decrease the loudness. Drums, bass and other instruments can be muted and you can switch the Vocal harmoniser on and off (if you own such a device).
The Stop option will stop the playing at this point. It can be used to make the last part play shorter or to continue playing the last part until the Stop marker. Press the Delete button to remove the marker.
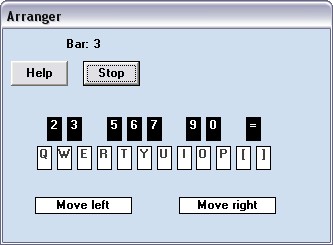
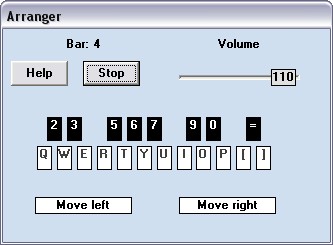
Back in the Arranger window press the Play button. A window pops up and the music starts playing. The window displays a virtual keyboard that you can use to play along on your PC keyboard. You can of course also play along on your MIDI keyboard controller. Click on Move left and Move right to change the range of the PC keyboard. Press the Stop button when you're finished.
In the middle of the Arranger window you can specify the first bar and the last bar to be played. Check loop to play this section continuously.
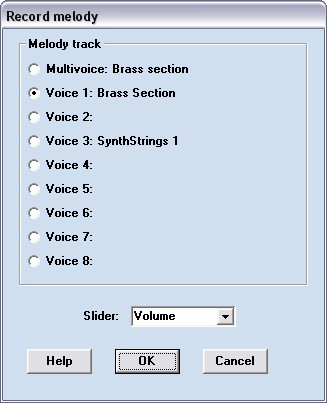
Press the Record button in the arranger window to start a melody recording. A window pops up where you can select a voice to record with. The multivoice will record the melody with complete layered voices and auto harmony. You can also select to record one of the voices in the multivoice separately. In that case there will appear a slider option list. Instead of playing the melody you can add effects to a previously recorded melody with a slider.
After pressing the OK button a window will popup with the same virtual keyboard as in Play mode. Because a single voice is selected for recording, there is a slider on the screen. Move it left and right to record the corresponding effect. Or play the melody on your MIDI keyboard controller. The recording is always added to previous recordings nothing is deteted.
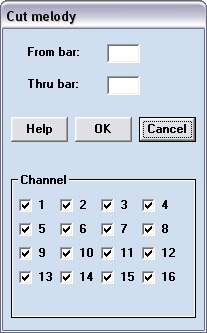
To delete previous melody recordings: select menu melody cut. In this window you can specifiy what should be removed. Specify the first and last bar that you want to delete and specify which type recording should be deleted. The type recording matches what you specified before the recording started. After this the cut melody can be pasted to another place in the sequence with menu melody/paste.
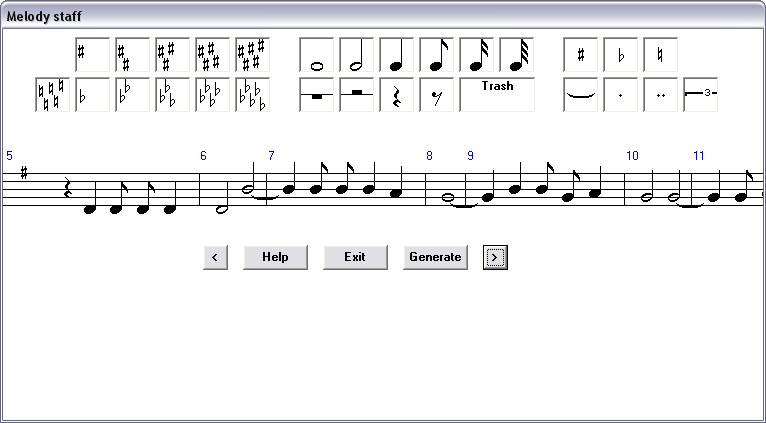
Right click on a barnumber in the sequence area and select "Melody staff". The staff notation window appears. Drag and drop the staff symbols to the staff lines. The meaning of the symbols and the way they are placed on the lines is according to the general music notation rules for single voice song melody. You can drag the symbols on the staff lines to another place or to the trash box to delete them.
Before you enter the melody you must first have filled the parts and chords in the sequence area of the arranger window. After that you can use the staff window to add melody. Use the < and > button to scroll thru the bars. When the melody is finished, press the generate button. Melody events will be added that will be played with the corresponding multivoice. This window is only for entering the melody. You can't make the melody that you have recorded visible on this window. Whenever you press the generate button, any previous recorded or generated melody is deleted. The notes entered in this window are saved in the arrangement separate from the recorded and edited melody events that are played. The staff notes themselves can't be heared until they are copied to melody events using the generate button.
Detailed editing of recorded and generated melody event is done in the eventslist and pianoroll. Right click on a barnumber in the sequence area and select these options from the popup menu. Only the melody events can be edited this way, not the accompaniment. If you want to do detailed editing on the accompaniment then make a MIDI file from the arrangement with menu "Files/Save MIDI file". Then load the MIDI file in the Sequencer window. The Sequencer window is also needed if you want a MIDI type 1 file with each channel in a separate track. The MIDI files saved in the Sequencer window are always MIDI type 1 files, all other MIDI files saved in OMB are MIDI type 0 files with all channels in 1 track. To convert them to type 1 just load them in the Sequencer window and save them again.